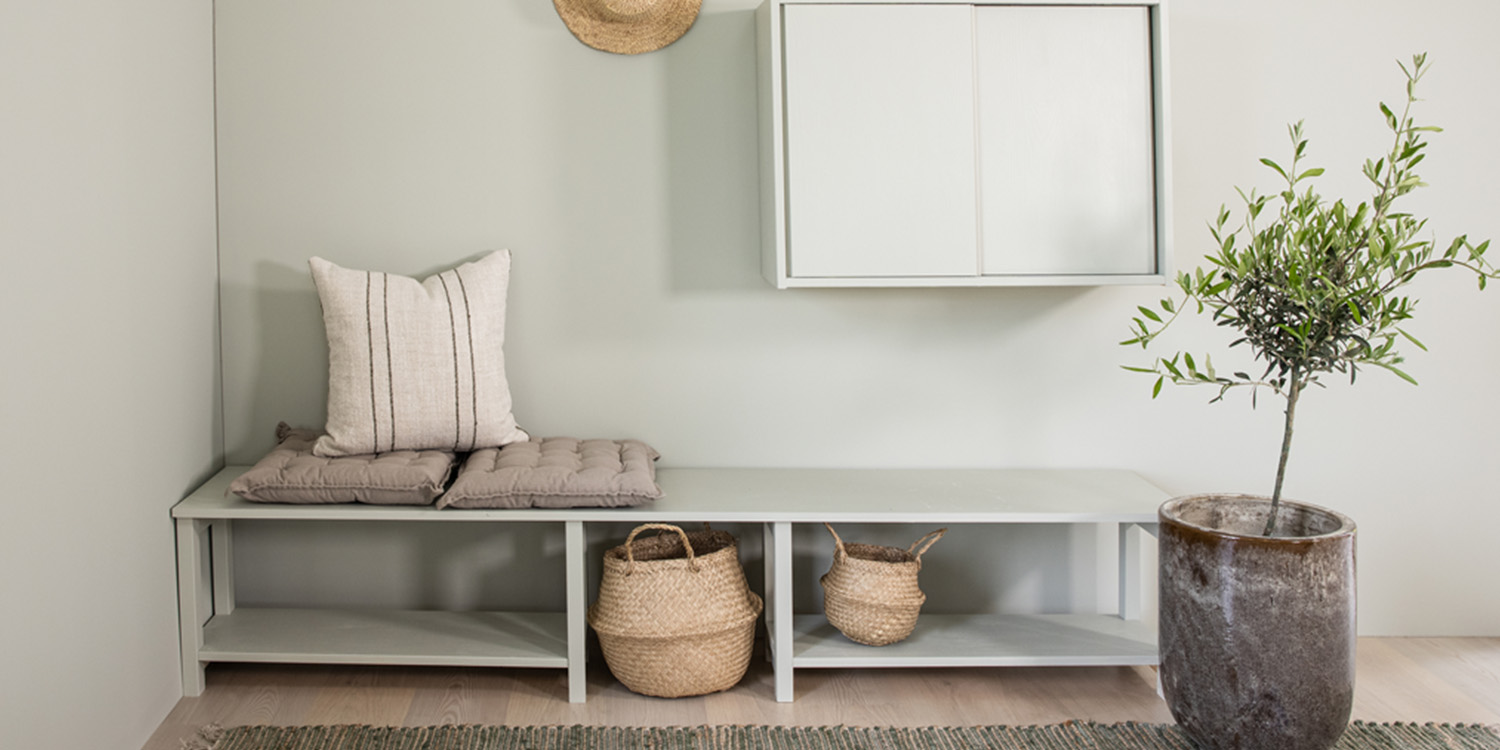
Installation of Nordic PRO Wall in 5 Easy Steps
Step 1
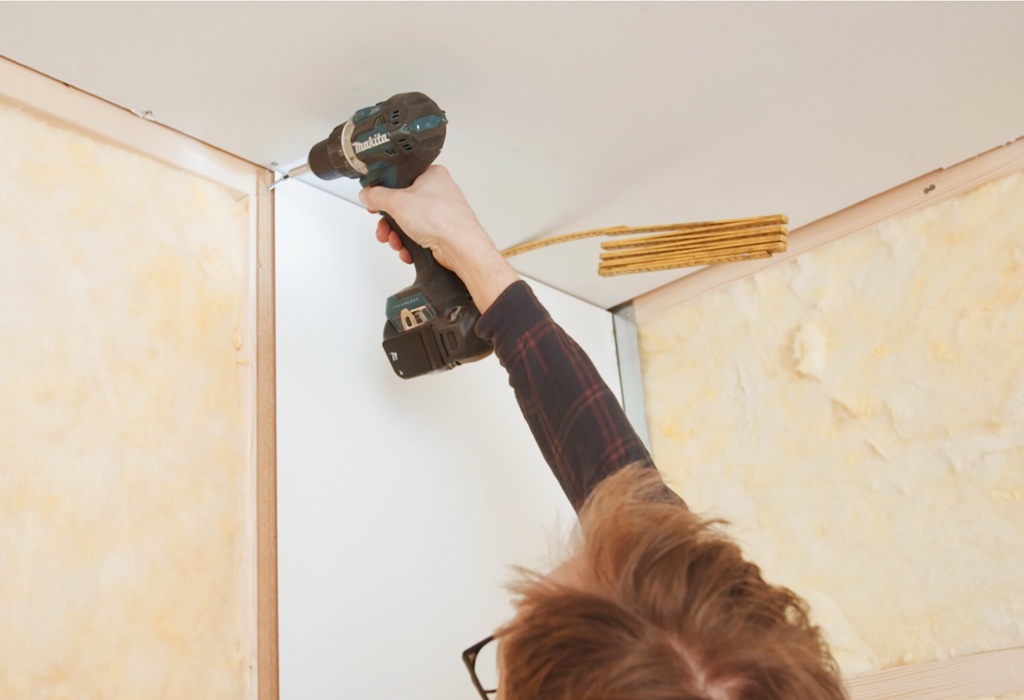
Screw in First Panel
Begin in a corner, leaving a 0.5cm gap between the panel and the ceiling as well as the panel and the floor. Secure the first panel onto the studs or existing wall using screws or nails.
Step 2
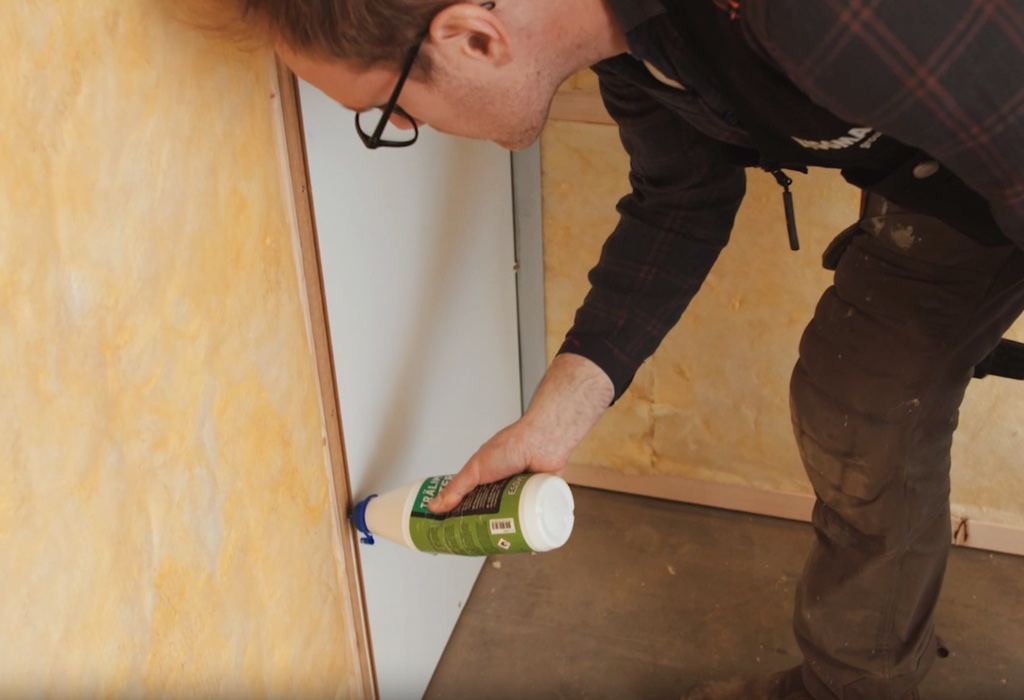
Apply Glue
Run a thin line of glue along the tongue and groove of the panel.
Step 3
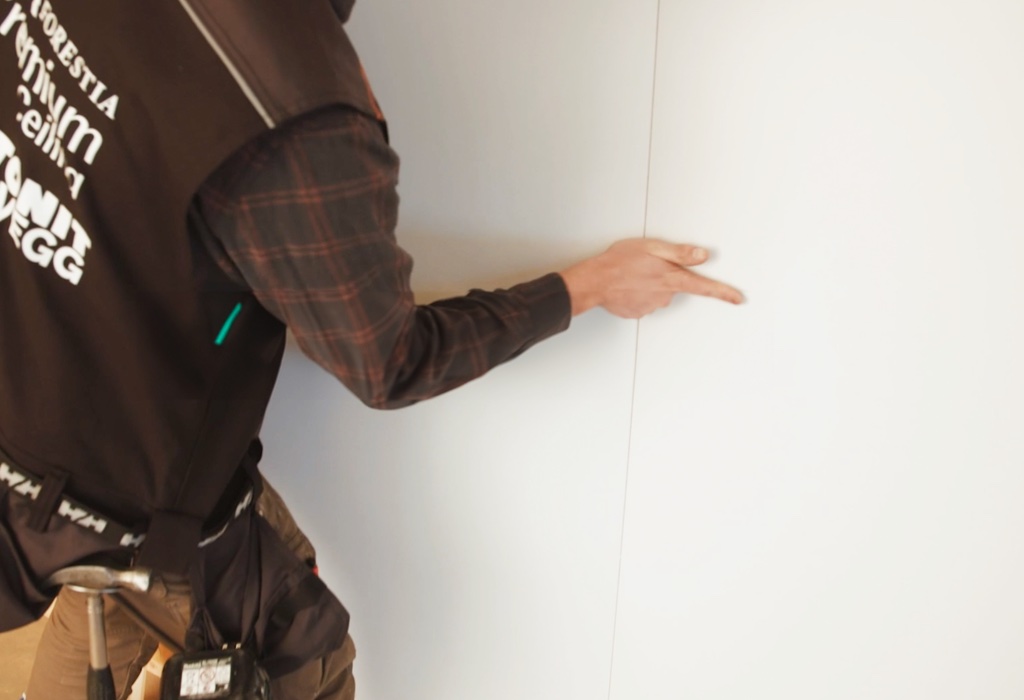
Click Together
Click the next panel into place.
Step 4
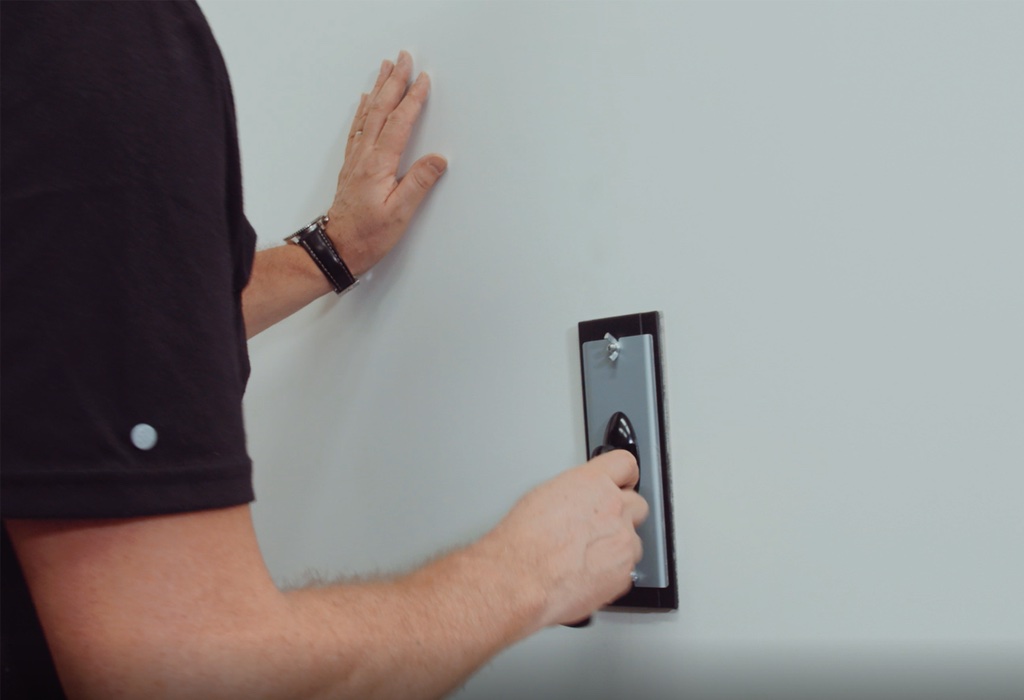
Sanding
We recommend a gentle stroke of sandpaper P120 over the joints before painting.
Step 5
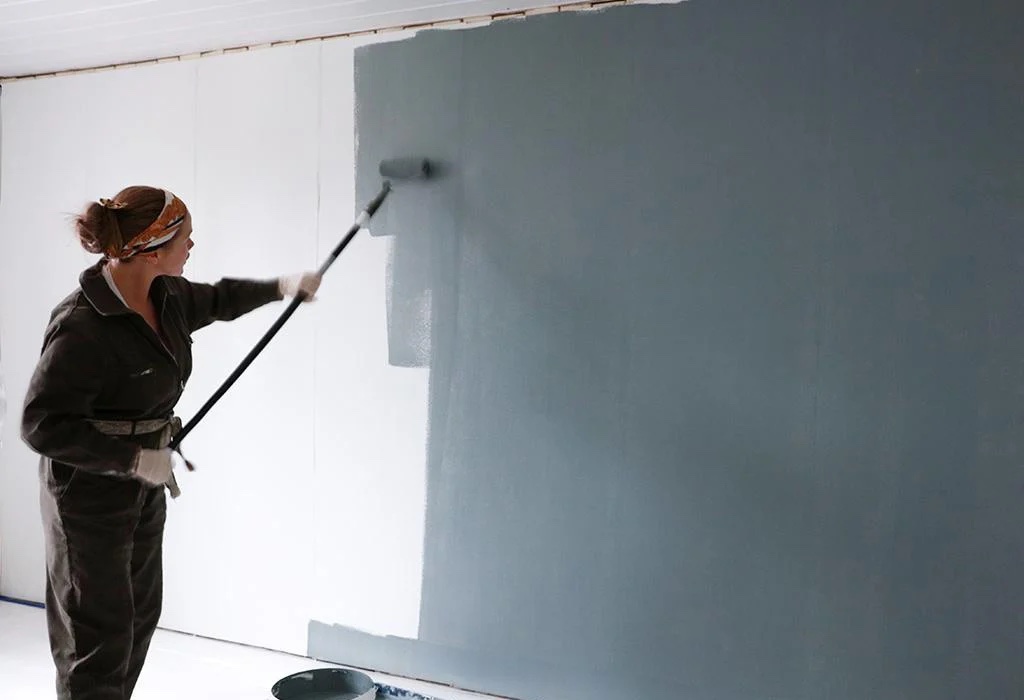
Paint or Wallpaper
Then the painting or wallpapering can start. You can also add acrylic filler in the corners or beading for the perfect finish.
Final Thoughts
Nordic PRO Walls are the ultimate choice for anyone seeking an easy-to-install, durable, and environmentally friendly wall solution. Whether you're renovating or starting a new build, these panels ensure exceptional results with minimal effort. Click above to request a quote, order a sample, or download our installation guide to get started on your perfect wall today.


