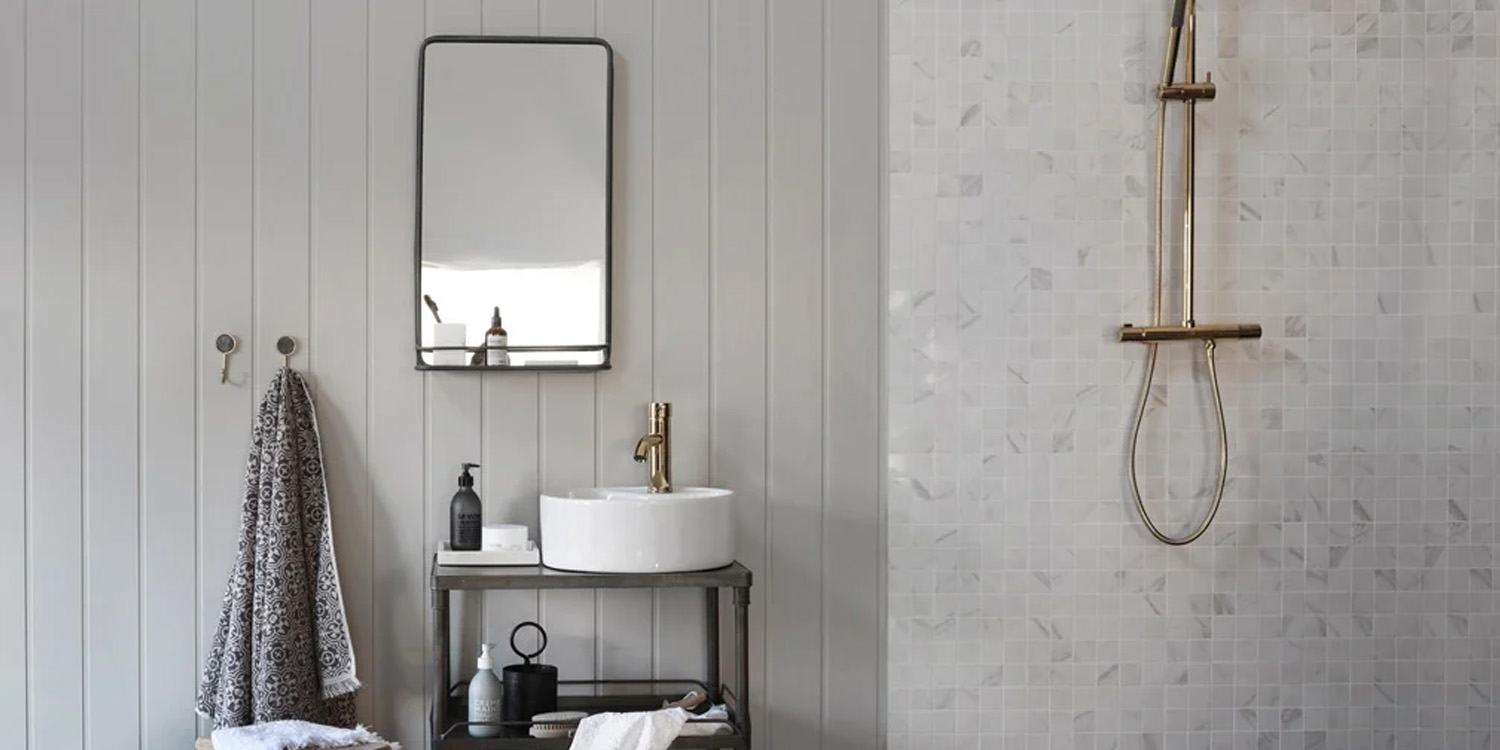
The end result will look so professional people will be amazed you did it yourself.
Installation of Nordic Pre-Painted Wall is straightforward and can be completed with basic tools. Find a hammer or drill along with some nails and screws and you are ready to begin.
When setting out to decorate a room there are many logistical things that has to fall into place usually – you need to clear the room and find somewhere to store items from this room, book the trades person to complete the project, ensure that all the materials have arrived, maybe arrange for the children and or you to stay somewhere else during a few weeks whilst the walls and ceilings are drying?


Nordic pre-painted walls and ceilings are so quick and clean to work with that you will be able to do the walls and ceilings in a bedroom in a couple of days. They are also pre-painted so as soon as they are up, the room is ready to have your furniture returned and it is ready to be lived in again. In addition, these panels are amongst the world’s cleanest wood boards and carry the prestigious Indoor Climate Award and has the outstanding M1 rating for indoor emissions. With Nordic Pre-Painted Walls and Ceilings, transforming a room has never been easier and you can rest assured of a safe, toxin-free environment in your home.
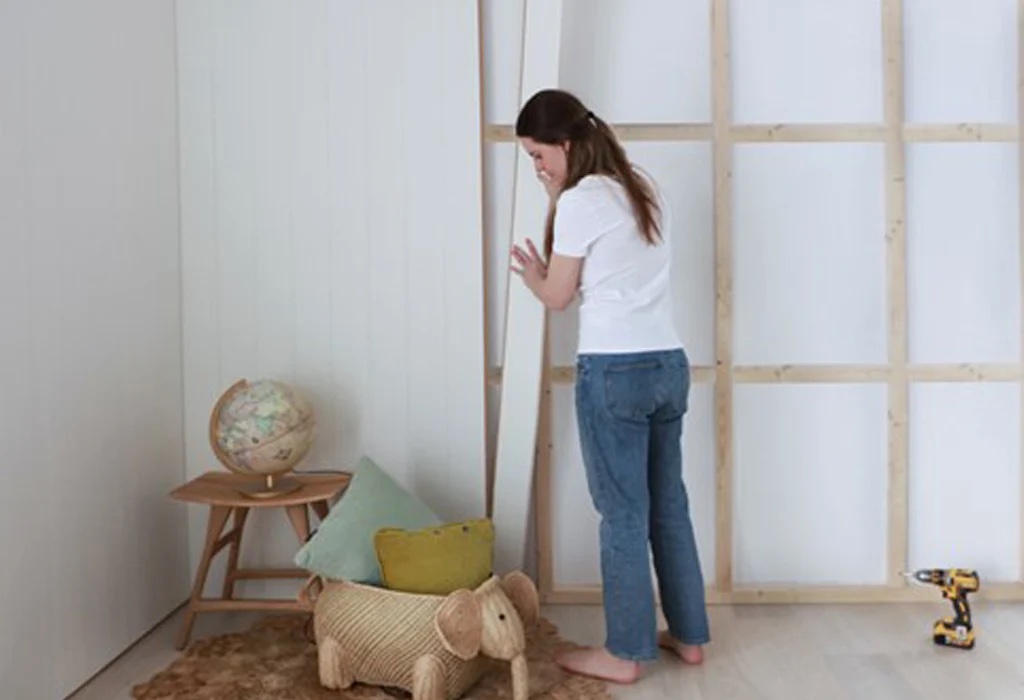
Installation is straightforward and can be completed with basic tools. You can get a carpenter to do it for you, but as these panels can be put on directly onto existing walls or directly onto the stud work, it is simple enough for a DIY hobbyist to complete.
- Preparation: Measure up and plan how you will distribute the panels on the wall.
- Cutting to Size: Trim panels to the correct heights, ensuring small gaps from the floor and ceiling. Using a circular saw, the painted side should face downwards.
- Mounting: attach panels directly onto existing walls or to stud-work which is set up with 60cm separation. Ensure the stud-work/ existing walls are level, using a spirit level for accuracy.
- Starting Point: Begin in the left corner, placing panels 10mm above the floor. Use a spirit level to ensure it is level.
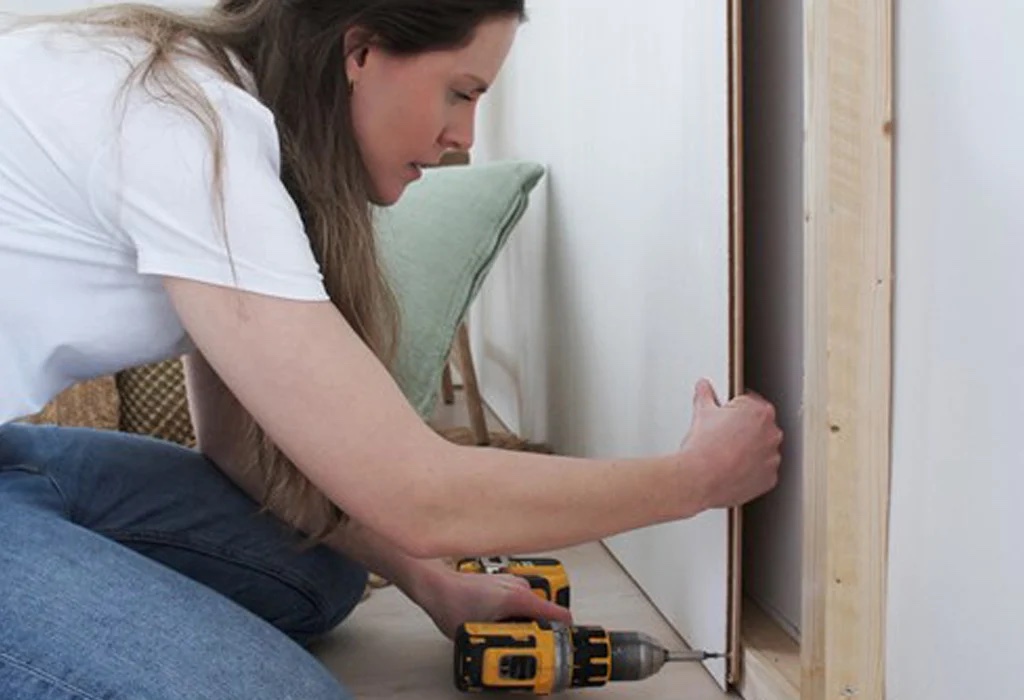
- Attaching Panels: Secure each panel with nails and screws to the stud work in the groove, then click the next panel into place in the groove.
- Repeat: Do step 5 for each panel.
- Finishing Touches: Your wall is now ready for beading
Final Thoughts
For a more detailed installation and how to install a ceiling, please visit our Product Downloads and Resources page where the installation guides can be downloaded.
With our full range of beautiful colours Of Nordic Pre-Painted walls and the different texture of Nordic Ceilings, you will find the perfect match for your home. Why not view or full range of pre-painted walls and ceilings to find the combination for your dream home.


