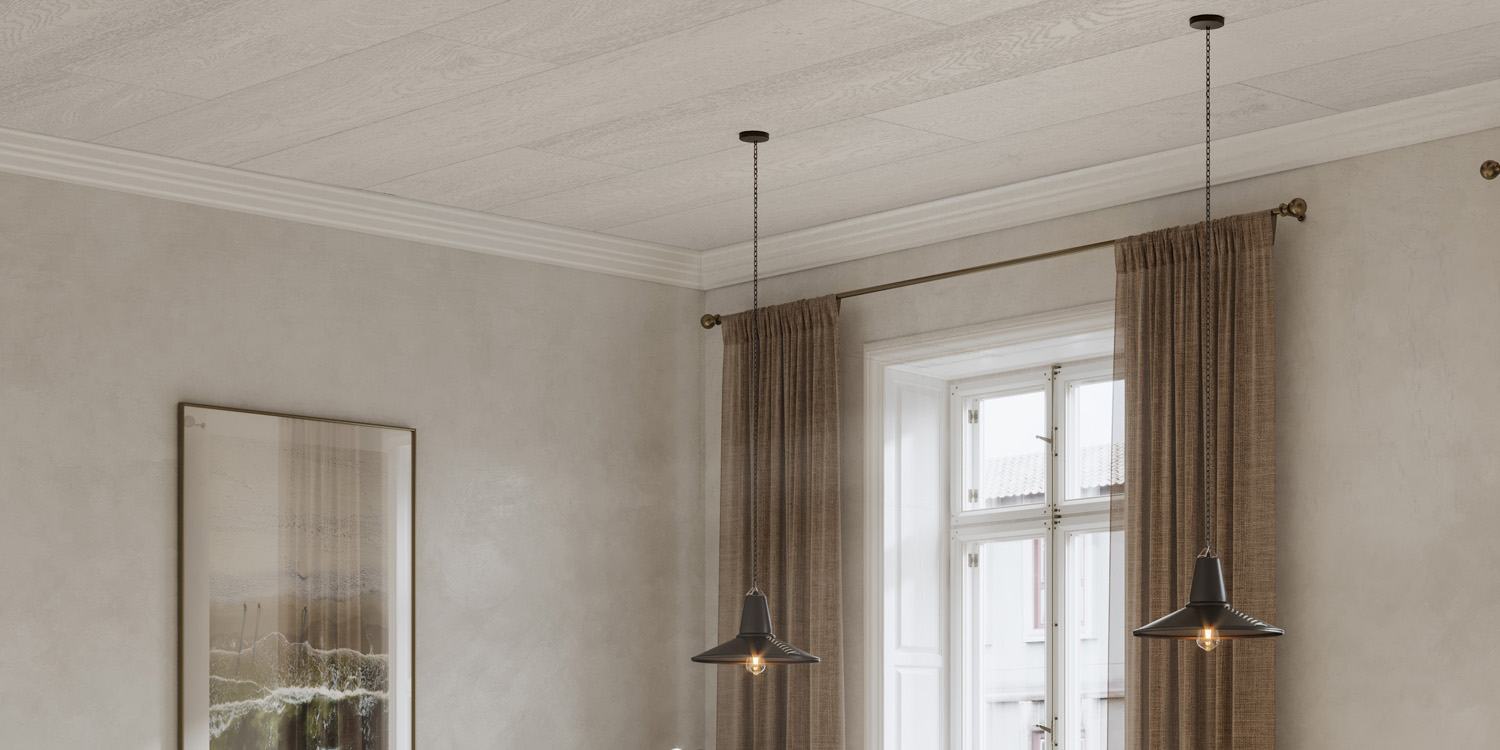
Stunning finish that is also durable and practical without any painting mess.
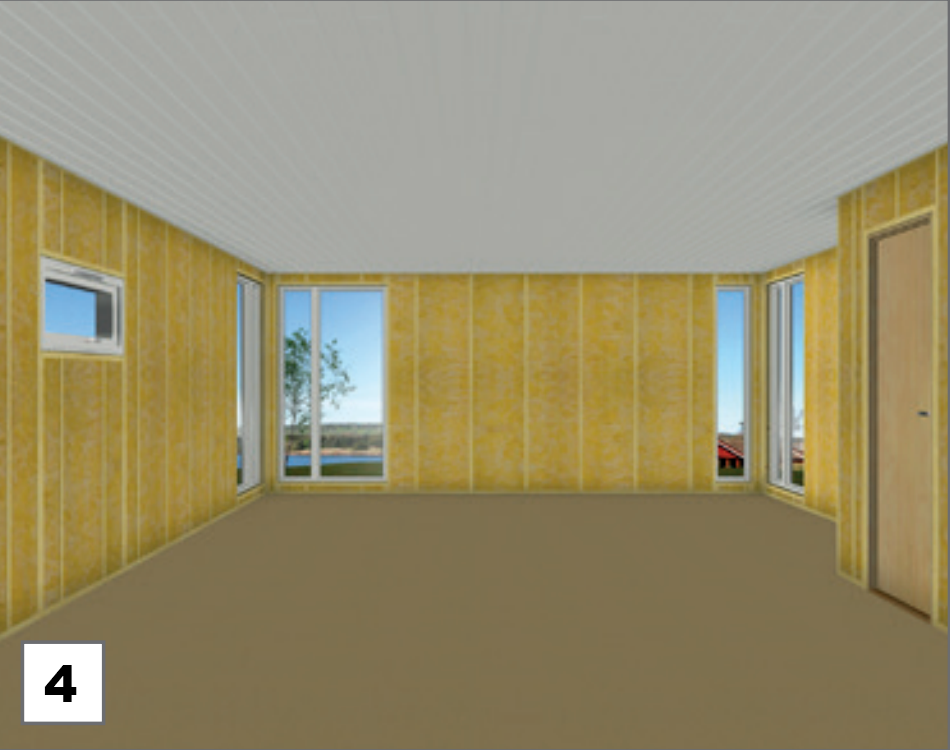
Nordic Ceiling panels, match the quality of Nordic Wall panels, and are manufactured with pure wood fibre sourced responsibly from Norwegian forests. They carry the highest indoor ratings, including the M1 and Indoor Climate award, testifying to their top quality and commitment to healthy indoor environment.
All our Nordic Ceilings tolerate humidity and can be used in utility rooms, kitchens and bathrooms away from the splash zone. They are also very resistant against large temperature variations so they can be used in holiday homes and garden rooms. They are durable and backed with 20 years warranty, ensuring long-term satisfaction.
All our ceiling options are painted white but with different wood grain finishes. If you prefer a ceiling with character and more of a rustic impression, our textured options Symfoni and Plankett are excellent options. However, if you want a smoother brush painted finish then we have a selection of different sized panels to create different styles of finishes.
As the all have 4 sides of tongue and groove design for hidden screw pints they are all create a stunning ceiling in 4 steps:
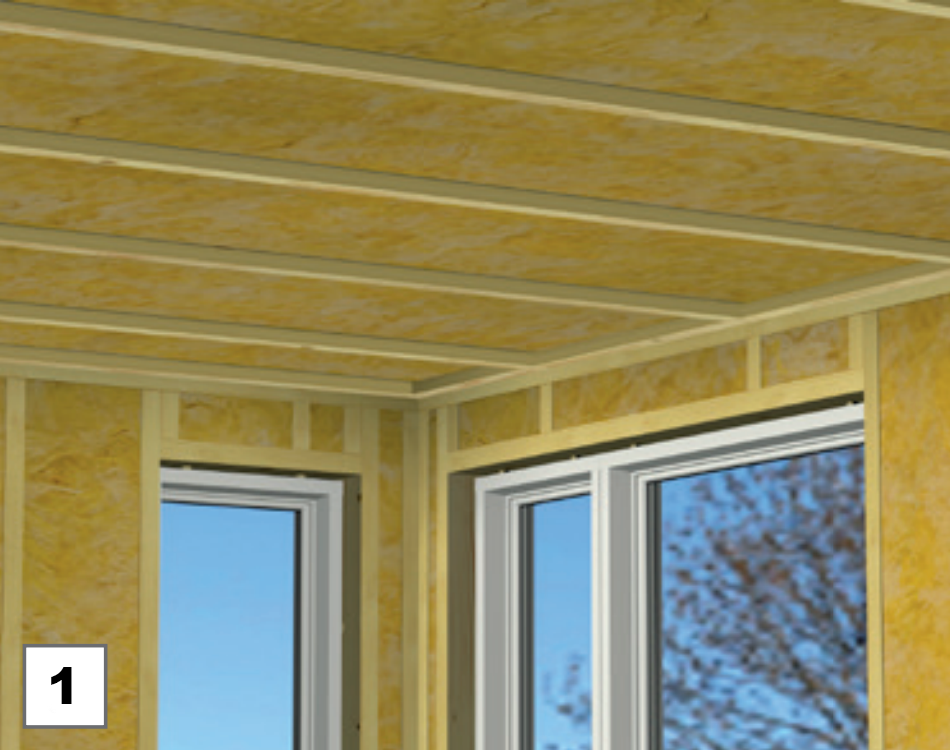
Step 1
Easy to Install
All our Nordic ceilings are easy to install directly onto the ceiling joists or existing ceiling, with the nail points needing to be a maximum of 60cm apart.
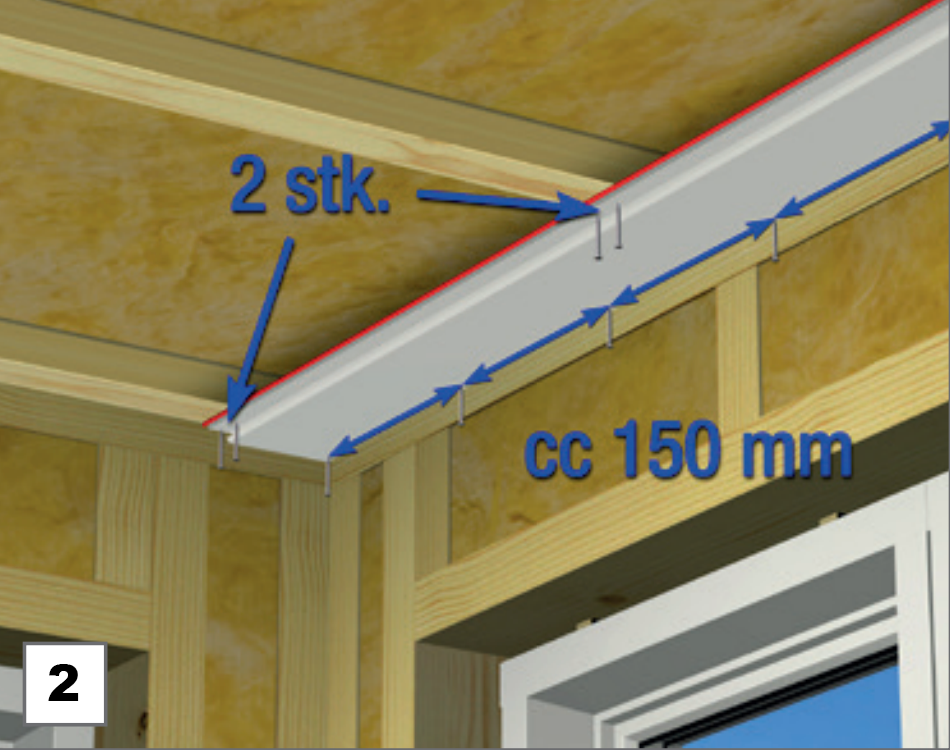
Step 2
Nail it
Install the first panel using a string line, ensuring straight positioning. Leave 10mm gap from all walls. Attach the panel in place using a double nails/screws at each joist as well as every 150mm along the side closest to the wall.
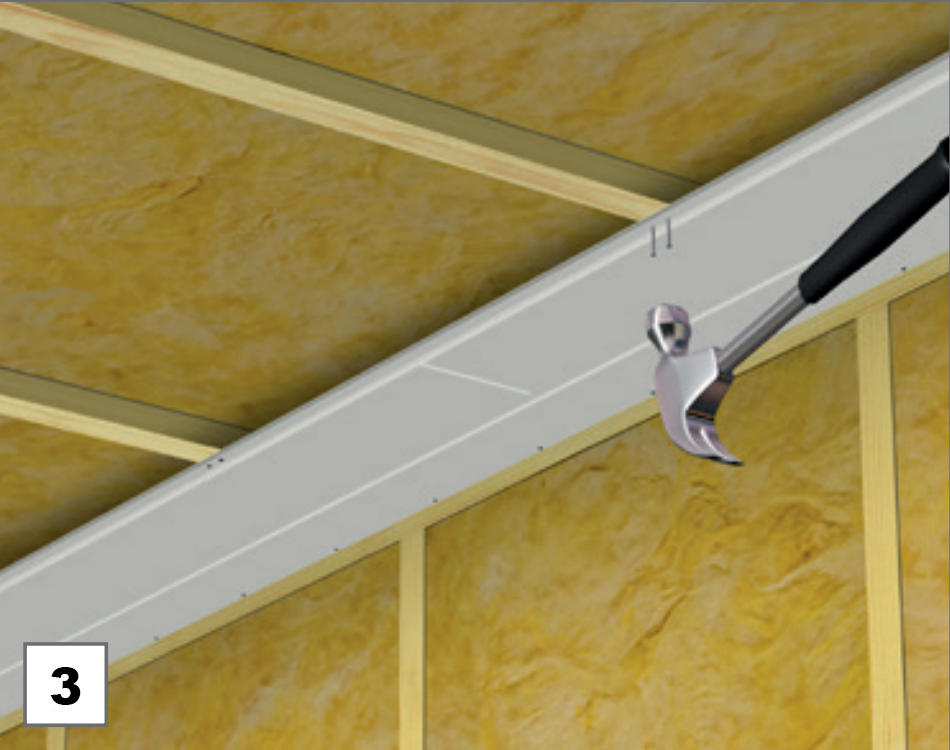
Step 3
Slide & Secure
The next panel is joined onto previous panel using the tongue and groove. There is no need for any glue or adhesive, it just slides into the groove and then nails are added on the next side at every joist only.
Step 4
Finish Up
The rest of the panels are installed the same way. Your new Nordic Ceiling is complete and ready for beading!
Final Thoughts
Getting your new perfect ceiling could not be easier. Why not have a look at our full range or download the installation manual.
